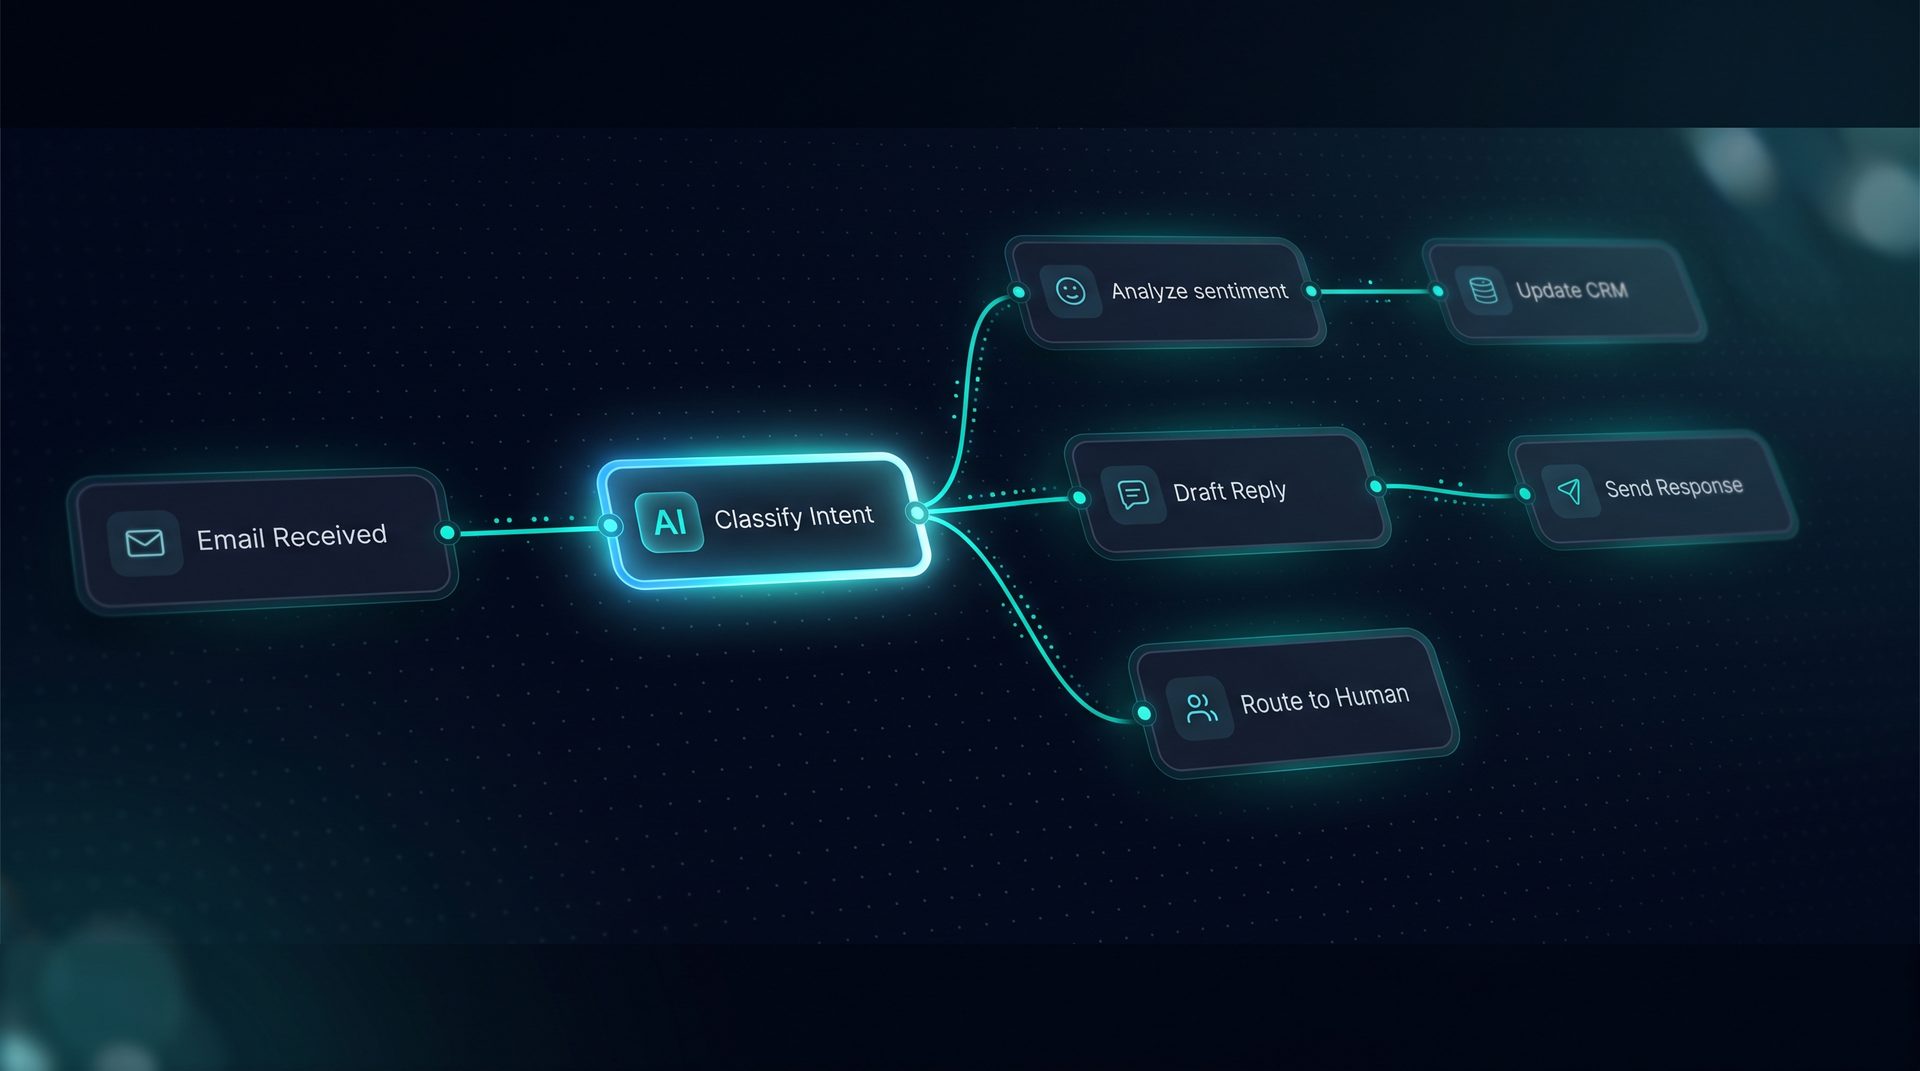
Build your own ai with a visual, self-hosted platform that removes developer bottlenecks and keeps infrastructure under your control. This guide explains what "build your own ai" means, why teams choose to build ai systems in-house, how the process works step-by-step, who benefits most, and when to adopt a self-hosted visual builder versus hiring an engineering team.
What does it mean to build your own ai?
To build your own ai means assembling models, prompts, tools, and data to produce a repeatable workflow or conversational agent that solves a business problem. Teams can build ai systems to automate approvals, answer support questions, run research tasks, or route information between apps. Instead of writing framework code, non-technical builders use a visual canvas to create, test, and publish agents.
Why this matters
- Reduces dependence on engineering for routine automations
- Keeps data and compute inside your environment when you self-host
- Shortens time from idea to production agent
Building ai in-house preserves governance, PII controls, and compliance because you control where data and embeddings live.
How building your own ai works — step by step
- Define the outcome: identify the process to automate (support triage, approvals, knowledge retrieval).
- Pick a model: choose an LLM supported by your stack and configure system prompts.
- Add tools: register REST, GraphQL, SQL, or built-in tools and test endpoints.
- Connect knowledge: ingest files, URLs, or crawled sites and create embeddings for retrieval.
- Compose the workflow: drag agents, routers, transforms, and human-in-the-loop nodes on the canvas.
- Test in Playground: run live traces, inspect token usage and per-node state, debug search results.
- Deploy: publish to a web widget, email channel, Run API, or MCP server.
Each step keeps non-developers in control: the visual agent builder compiles prompts and shows a live panel so you can see the prompt that will run in production.
Key components you will use
- Visual Agent Builder — assemble system prompts, tools, and Q&A pairs without JSON.
- Visual Workflow Builder — drag-and-drop nodes for classifiers, loops, routers, and human handoffs.
- Tool Builder — register and test REST, GraphQL, SQL, and built-in toolsets with JMESPath payload projection.
- Knowledge and RAG — ingest text, PDFs, HTML, CSV, and store chunked embeddings for retrieval.
- Human-in-the-loop — pause runs for approvals and route sessions back to human inboxes.
Expert tip: keep frequent answers as Q&A pairs to intercept obvious queries before retrieval and reduce token usage.
Who should build your own ai?
- Product managers and ops leads who need fast automation without tickets to engineering.
- Support teams wanting a self-hosted assist to respond to common tickets and route escalations.
- Data teams that need controlled vector stores and RAG pipelines under their governance.
- Small engineering teams that want to prototype quickly before committing to a full dev project.
If you want to build ai but lack developer time, a visual canvas lets you create a production-grade agent in a single session.
When to create your own ai vs buy a managed solution
Create your own ai when you require data ownership, on-premise hosting, or strict governance. Buy managed solutions when you prefer a hosted service and minimal operational overhead. Self-hosting is best when you need:
- Project-level PII redaction and network allow/deny lists
- Exportable JSON bundles for migration between projects
- Control over embeddings, vector stores, and ingestion pipelines
Practical example: make your own ai assistant for support triage
- Define intents and common questions.
- Ingest the knowledge base (docs, product guides, FAQs) into the vector store.
- Create Q&A pairs for high-frequency answers.
- Add tools to fetch ticket metadata from your helpdesk via REST.
- Build a workflow that classifies intent, retrieves top chunks, and composes a response. Pause for human review on low-confidence cases.
This example shows how to build your own ai assistant without writing framework-level glue code. It uses drag-and-drop components, a Playground to stream runs, and deployment channels like a web widget or Run API to reach users.
Best practices when you build ai
- Start with a single, well-defined use case.
- Use Q&A pairs to short-circuit common queries and improve speed.
- Limit tool permissions with named tool sets and scoped API keys.
- Monitor runs with the observability panel for latency, token usage, and cost per step.
- Keep secrets and environment variables per environment to avoid leaks during export/import.
How DeepForce fits as a solution example
DeepForce is an open-source, self-hosted platform built on LangChain and LangGraph. It provides a drag-and-drop visual agent builder, a workflow canvas with routers and human handoffs, and deep observability including per-step token and cost accounting. When you choose to build ai with a self-hosted tool, you gain control over where data and embeddings live and can export workflows between projects.
Using an example like DeepForce shows how a visual-first approach lets product teams build ai without a full framework team while retaining governance and deployment flexibility.
Next steps
- Map a single repeatable process to automate.
- Gather the knowledge sources and API endpoints you need.
- Use a visual builder to prototype, test in Playground, and publish to a widget or API.
Building ai no longer requires a large engineering team — you can build ai, create your own ai assistant, and make your own ai workflows with a visual, self-hosted platform and retain full control of your infrastructure.